1. Create Networks
Setting Up Your VPN Networks
Overview
Networks are your VPNs. They are meant to separate different environments, scenarios, customers, or other use cases, and keep traffic segmented. You can define any number of distinct networks in Netmaker for any number of use cases.
A network in Netmaker has a defined subnet. All devices enrolled in the network will be assigned a virtual IP Address from this range, which is the private IP address over which encrypted traffic and communications occur between devices.
The Default Network
A network will usually already be set up when you log in for the first time, with the following settings:
Name: netmaker
Subnet (ipv4): 10.*.*.*/24
Subnet (ipv6): ::*:*::/64
Default ACL: ALLOW
This is suitable for most standard use cases. In basic scenarios, you only need one network. You can always delete the default network if the settings do not suit your needs.
How Many Networks Do You Need?
Here are a few reasons you may need or want multiple networks.
You Manage Multiple Customers
If you work with multiple customers, you can set up multiple networks for each customer. You could also deploy multiple “tenants” aka “Netmaker servers”, but keeping everything on one server can simplify operations.
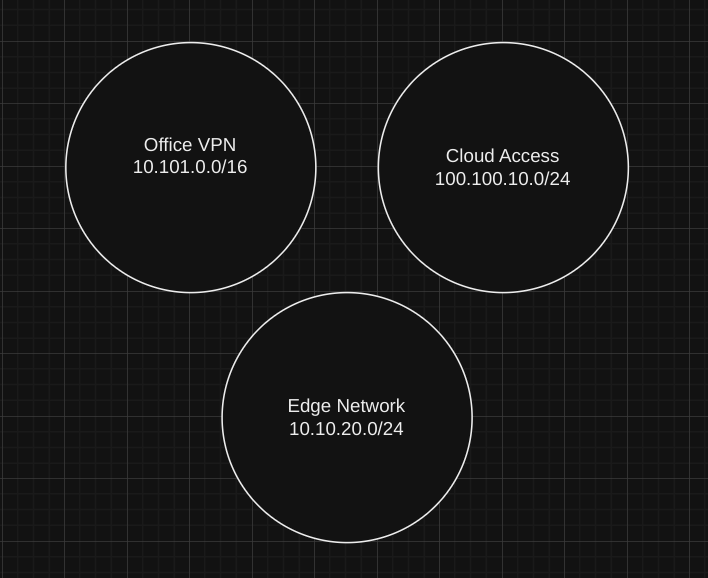
You Have Multiple Environments or Use Cases
If you have multiple offices, clouds, testing environments, or just have vastly different use cases, you may want to manage these via different networks.
You Want to Segment Access
If you have vastly different levels of access between user or device groups, it may be easier to segment access using multiple networks. This can also be done within a single network, but using multiple networks is often cleaner and easier to manage.
Creating Networks
Once you have determined how many networks you need, making them is easy. Simply go to the networks page on your dashboard and click “Create a Network”:
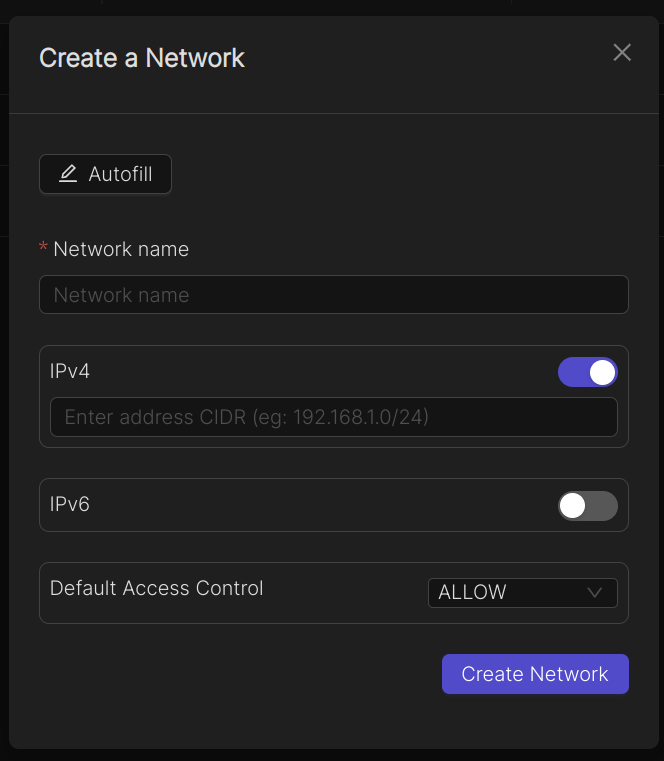
If you are unsure, or don’t care, about the subnets, you can simply “Autofill” the settings, which is fine for most users. However, take care to choose a network name that matches the use case. For instance, if setting up remote access to a customer’s environment, consider naming it <company name>.
It is important to note that network settings are immutable. You cannot change these after creation. Let’s walk through the network settings.
Network Settings
Network Name
The identifier of the network. You may want to consider labelling this according to the use case or environment, e.g. “my-office” or “edge-device-access”.
IPv4, IPv6 CIDRs
The virtual IP range(s) of the network. Usually you just need IPv4. IPv6 virtual addresses are usually not required. Devices can still use their ipv6 public endpoints to communicate, even if the virtual network is ipv4.
Here are some important rules to follow:
-
Specify a network size that is suitable for your network. A /24 network (e.x. 10.10.10.0/24) will be able to include up to 254 distinct private IPs, whereas a /16 network (e.x. 10.10.0.0/16) Will be able to include up to 65,534 distinct private IPs.
-
Use a private address space. Otherwise, it may conflict with public (real world) IPs: https://www.iana.org/help/private-addresses
-
Use a private address space that does not overlap with any local addresses that may be in your network. EX: a LAN will often have an address space starting with 192.168.*.*, so this should be avoided. Usually it is safe to use a private subnet with a prefix of 10.*.
Default Access Control
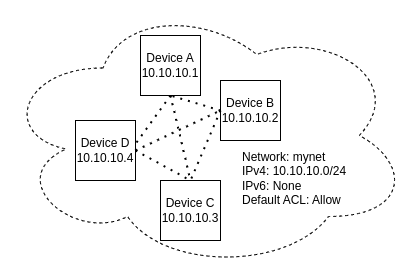
This should almost always be set to “ALLOW”. The Default Access Control is the setting that Hosts are given for reachability.
If Set to “ALLOW”: All machines in the network can reach all other machines in the network by default. A network administrator can optionally disable connections in the “Access Controls” tab of network management.
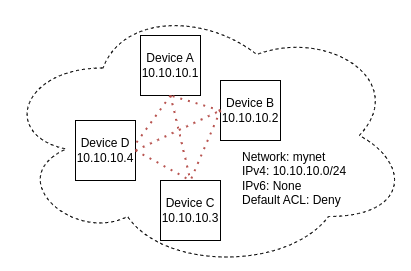
If Set to “DENY”: No machines will be able to reach each other by default. Any machine added to the network will have no connections. A network administrator must specify which machines can reach each other in the “Access Controls” tab of network management.
Next Steps
Once you’ve created your Network(s), it’s time to add the devices that will make up your network. We’ll discuss that in the next section.