Relay Servers (Pro)
📢 Note:
With the release of Netmaker v0.90.0, we’ve streamlined the Relay functionality by integrating it with Remote Access into a single feature called Gateways and it’s available on community version now.
Introduction
Sometimes nodes are in hard-to-reach places. Typically this will be due to a CGNAT, Double NAT, or a restrictive firewall. In such scenarios, a direct peer-to-peer connection with all other nodes might be impossible.
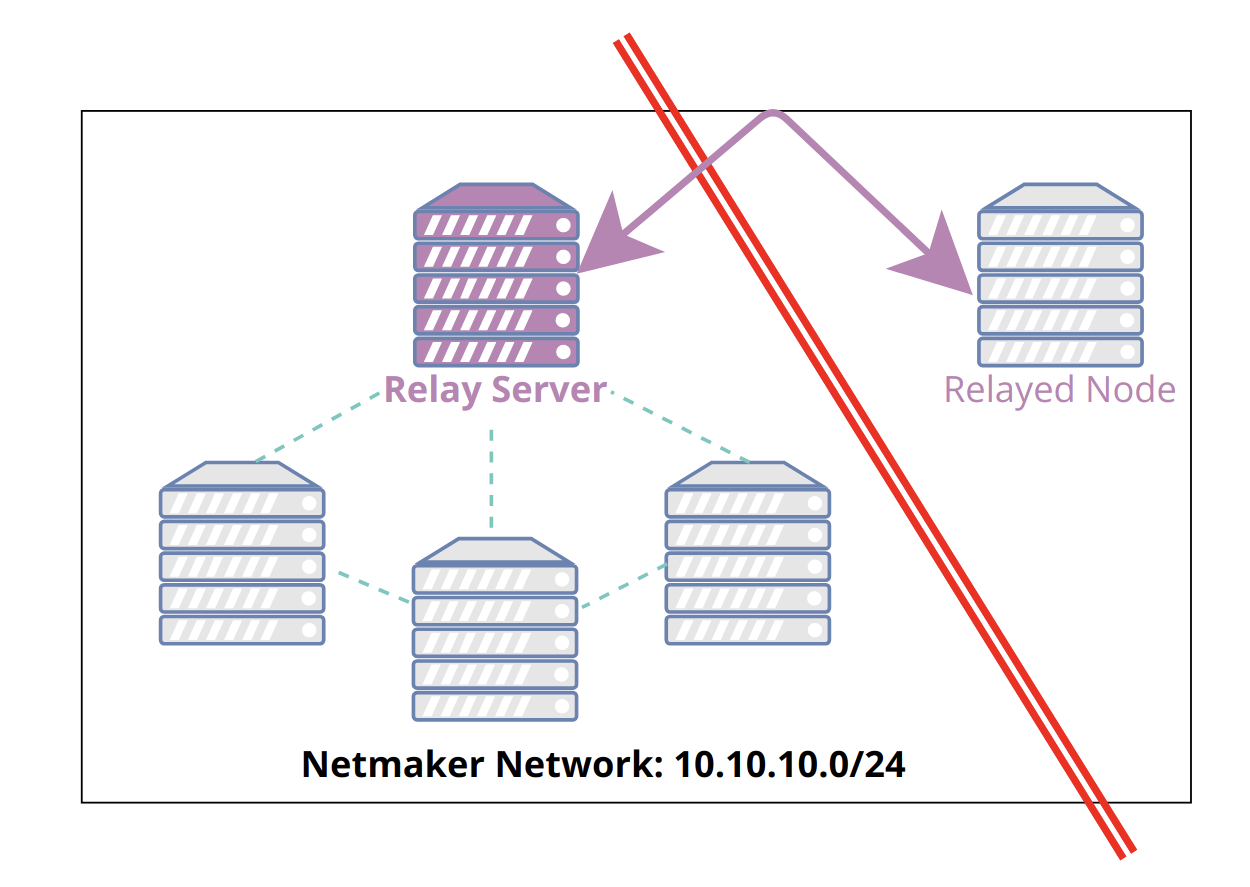
For this reason, Netmaker has a Relay Server functionality. At any time you may designate a publicly reachable node (such as the Netmaker Server) as a Relay, and tell it which machines it should relay. Then, all traffic routing to and from that machine will go through the relay. This allows you to circumvent the above issues and ensure connectivity when direct measures do not work.
Configuring a Relay
To create a relay, you can use any node in your network, but it should have a public IP address (not behind a NAT).
Select your network and navigate to the Relays interface

When clicking on the Create “Relay button”, you should be prompted to select a node to use as the relaying server.

After that, select the node you would like to be relayed by clicking “Add relayed node”

After creation, you should see your relayed node show up on a list of relayed nodes on the Relays interface.

Auto Relays
When incorporating a new node into a network, you have the option to set it up as a relayed node. To accomplish this, the initial step involves generating an enrollment key and specifying both the network and the relay to which the node will be added.

When integrating a new node into a network, choose the recently generated enrollment key and proceed with the remaining setup steps. After completing this process, you should observe your new node being successfully relayed.
